
Breeze
Recommended starting pointAutomatically adjusts fan speed to CPU and GPU temperature. Start with the ready-made profile or set your own rules.
How the mode works ↗Choose cooling for your work, show the readings you need in the menu bar and save your settings. Here are the steps for first launch and activation.
Open the main window to see temperatures and fan speeds. This is your starting point for choosing a cooling mode.
Start with the system requirements. To control the fans, install the helper in Settings → Fan and approve the macOS prompt.
Closing the main window does not quit Breeze: readings and quick mode selection remain in the menu bar.
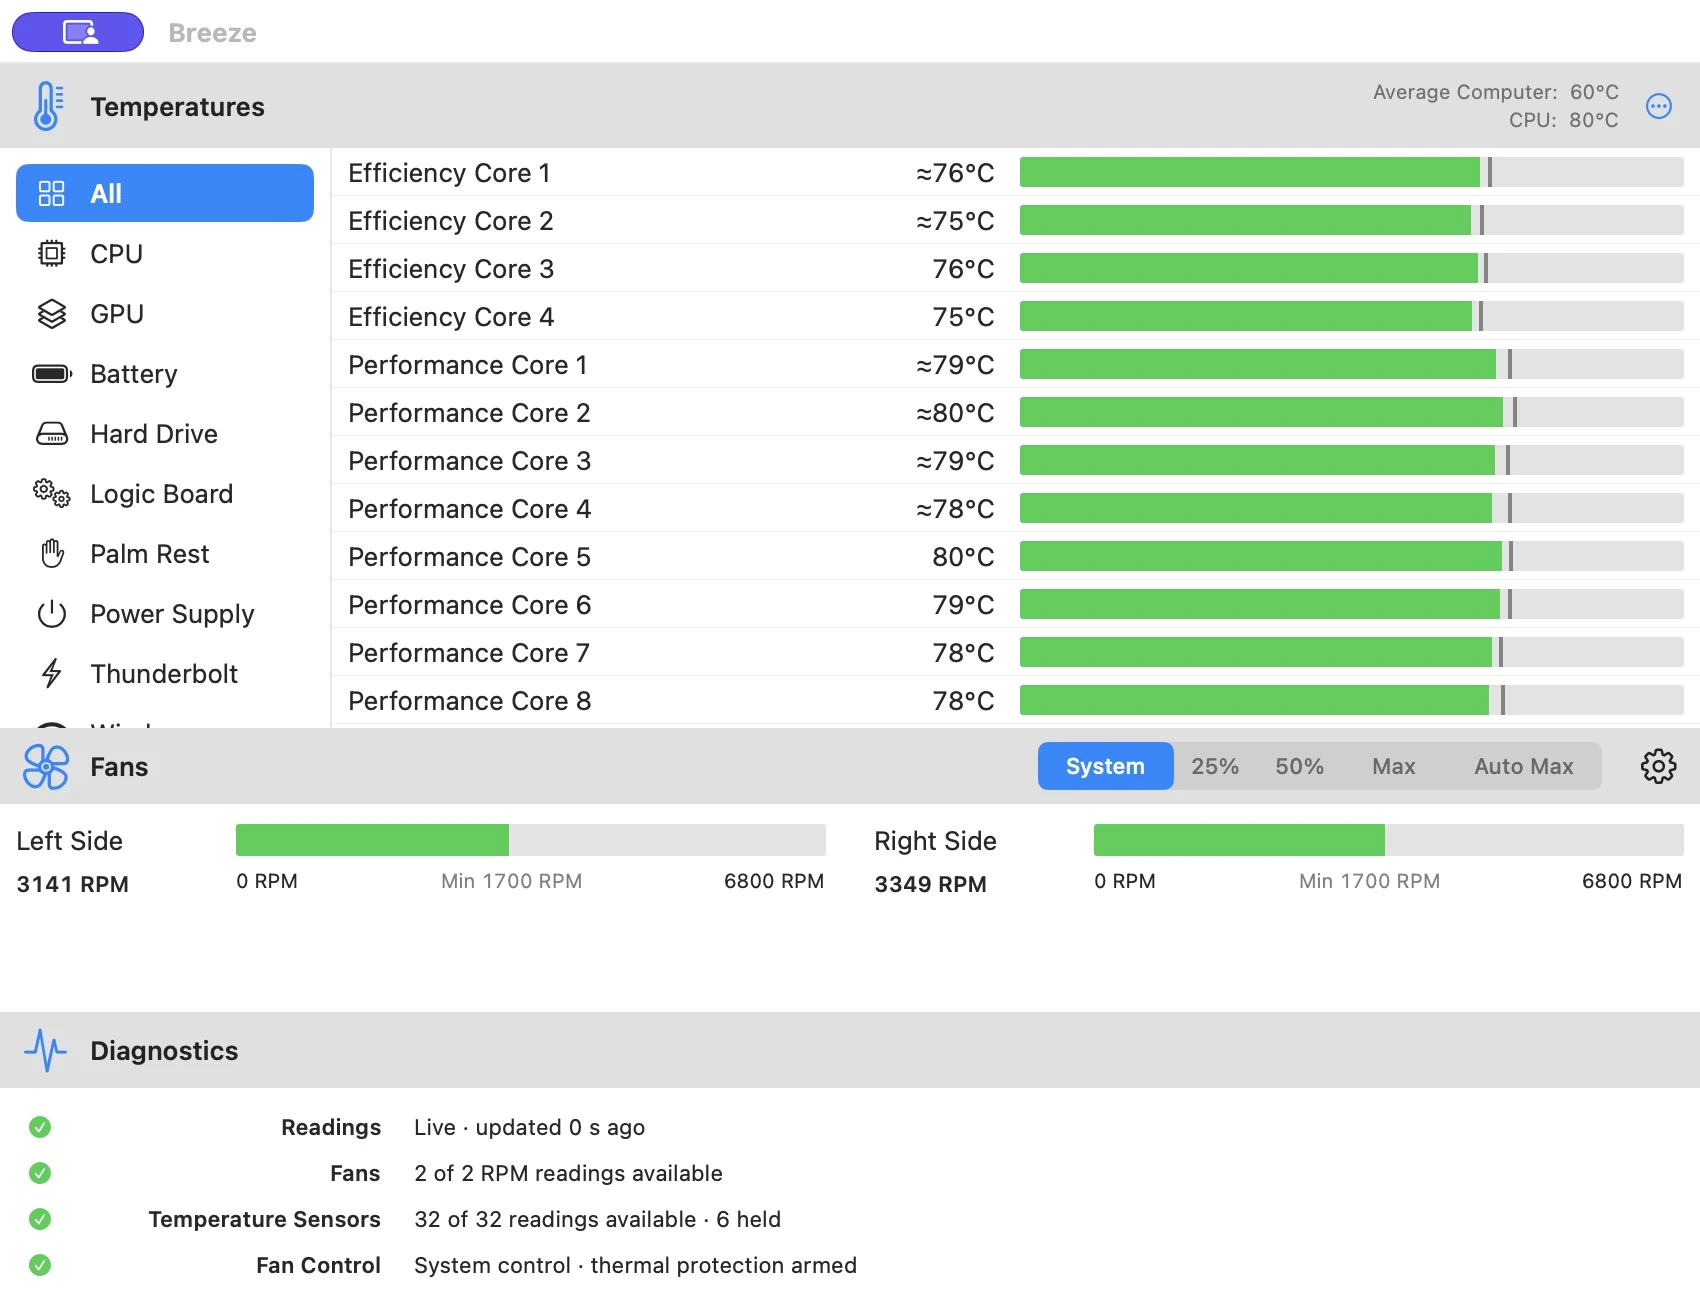
Automatically adjusts fan speed to CPU and GPU temperature. Start with the ready-made profile or set your own rules.
How the mode works ↗Familiar macOS control
macOS chooses normal fan speed. To keep familiar control. Breeze thermal protection stays active.
For experienced users
Fixed 25%, 50% or 75%. For precise adjustments to your task. Within the model's manual minimum.
For demanding tasks
Maximum fan speed. For rendering, games and sustained workloads. Cooling takes priority; expect more noise.
Choose temperatures and fan speeds for the menu bar, their order and appearance.
In Settings → Fan, save separate temperature rules for each power source.
Set how long a fan speed change takes: from 1 to 120 seconds. The default is 5 seconds.
Watch the graph, export measurements or enable CSV logging in a folder you choose.
After confirmed payment, your key arrives at the email address used for the purchase.
Open Activate License… in Breeze, enter your key and wait for confirmation. One key covers one active Mac; the license can be transferred.